


Phoenix LiveView is a web application framework that lets us produce server-rendered HTML and just a little JavaScript to create applications that feel responsive, provide fast feedback to users and can react to changes occurring on the server.
In this post, we’ll touch on LiveNavigation, latency and how to mask it with page transitions during loading. We’ll also have some fun with transitions for adding and removing table rows.
The code shown in this post is based on the output of the Phoenix generators mix phx.new and mix phx.gen.live prior to the release of v1.7.0 built from commit (6811f0ea). By the time Phoenix 1.7 is officially released, there may be some changes to the output of the generators.
Live Navigation
LiveView provides multiple options for navigating between pages, depending on whether it is being initiated from the client or server, and how much of the page needs to be re-loaded:
- A full page load can be initiated from client side with a
<.link href={...}>component, or from the server with the redirect/2 function. - A new LiveView can be mounted within the existing page layout from the client with
<.link navigate={...}>or JS.navigate/1 or from the server with the push_navigate/2 function. - The existing LiveView can be updated without re-mounting from the client with
<.link patch={...}/>or JS.patch/1 or from the server with the push_patch/2 function.
See the LiveNavigation guide or Understanding LiveView Navigation for more information.
Latency
Applications that primarily use the <.link navigate={...}/> method for navigation have a fairly smooth user experience, particularly when latency is low and the client can update the UI almost immediately. However, the user experience degrades as the distance between the user and the LiveView server increases, causing noticeable latency.
In a demo application deployed to the us-west-2 AWS region, the latency for navigating between LiveViews experienced by a user in east coast Australia was measured at ~500ms. With a 500ms latency, the page no longer feels like it is updating immediately, instead it becomes obvious that loading is occurring, with the loading indicator visible at the top of the page, before the new content finally pops into view.
We can simulate this experience in the local development environment with the enableLatencySim method on the liveSocket object directly in the browser console window:
> liveSocket.enableLatencySim(500)
Modal Transitions
Notice that the UI is less abruptly updated when showing and hiding the modal form:
Let’s take a closer look at how the modal is implemented to see if we can apply the same idea when navigating between pages. Here’s the outline of the markup generated by mix phx.new for the modal:
def modal(assigns) do
  ~H"""
  <div id={@id} phx-mounted={@show && show_modal(@id)} class="relative z-50 hidden">
    <div id={"#{@id}-bg"} class="fixed inset-0 bg-zinc-50/90 transition-opacity" aria-hidden="true" />
    <div
      class="fixed inset-0 overflow-y-auto"
      aria-labelledby={"#{@id}-title"}
      aria-describedby={"#{@id}-description"}
      role="dialog"
      aria-modal="true"
      tabindex="0"
    >
      <div class="flex min-h-full items-center justify-center">...
      </div>
    </div>
  </div>
  """
end
The outer <div> has the hidden tailwindcss utility class applied, which prevents the modal from being shown initially. The phx-mounted binding invokes the JS command generated by show_modal(@id) to make the modal visible once the page is loaded and the LiveView web socket connected.
The show_modal function uses JS.show to show the modal and fade in the background with a transition.
def show_modal(js \\ %JS{}, id) when is_binary(id) do
    js
    |> JS.show(to: "##{id}")
    |> JS.show(
        to: "##{id}-bg",
        transition: {"transition-all transform ease-out duration-300", "opacity-0", "opacity-100"}
    )
    |> show("##{id}-container")
    |> JS.focus_first(to: "##{id}-content")
end
Another helper function show/1 generated by mix phx.new is used from within show_modal:
def show(js \\ %JS{}, selector) do
  JS.show(js,
    to: selector,
    transition:
      {"transition-all transform ease-out duration-300",
       "opacity-0 translate-y-4 sm:translate-y-0 sm:scale-95",
       "opacity-100 translate-y-0 sm:scale-100"}
  )
end
The tailwind css documentation describes the effect of each class.
The general strategy is to initially render the elements as hidden or in some other initial state, then use phx-mounted to show the element and modify the classes applied.
TailwindCSS transition transform duration translate scale and opacity utility classes are used to define the transition.
Fade in on mount
The first transition we’ll apply is a fade-in as the page loads. This should slightly reduce the pop-in effect you experience after waiting for the loading to complete.
We’ll make an edit to the layout template in lib/<app_name>_web/components/layouts/app.html.heex
// layouts/app.html.heex
<main class="px-4 py-20 sm:px-6 lg:px-8 transition-all duration-500 opacity-0"
      phx-mounted={JS.remove_class("opacity-0")}>
The initial render will include the tailwind css classes transition-all duration-500 opacity-0 on the <main> element containing the LiveView content.
Once the <main> element is mounted and the web socket is connected, the phx-mounted binding will execute the JS.remove_class command to remove the "opacity-0" class, allowing the content to fade in:
Fade out on load
The next change is to detect when a new page is being loaded, and fade out the current content.
LiveView dispatches custom window events when page loading starts and finishes. These are used in app.js to show and hide the loading bar:
// Show progress bar on live navigation and form submits
topbar.config({ barColors: { 0: "#29d" }, shadowColor: "rgba(0, 0, 0, .3)" })
window.addEventListener("phx:page-loading-start", info => topbar.delayedShow(200))
window.addEventListener("phx:page-loading-stop", info => topbar.hide())
We can use the same events to add and remove a class from the main element during page loads:
// loading transitions
window.addEventListener("phx:page-loading-start", info => {
  if (info.detail.kind == "redirect") {
    const main = document.querySelector("main");
    main.classList.add("phx-page-loading")
  }
})

window.addEventListener("phx:page-loading-stop", info => {
  const main = document.querySelector("main");
  main.classList.remove("phx-page-loading")
})
The phx-page-loading class is only applied when the event detail.kind property is " redirect" which indicates that a <.link navigate={}/> is being used to navigate to another page. This prevents the fade-out from being applied on simple live_patch updates, such as when closing a modal.
The phx-page-loading class will be defined by a custom tailwindcss variant, allowing any utility classes to be conditionally applied while the page is loading.
The generated tailwind.config.js file already contains several custom variants used by LiveView to apply loading states to forms and buttons, we can add one more for phx-page-loading
plugins: [
    require("@tailwindcss/forms"),
    plugin(({addVariant}) => addVariant("phx-no-feedback", [".phx-no-feedback&", ".phx-no-feedback &"])),
    plugin(({addVariant}) => addVariant("phx-click-loading", [".phx-click-loading&", ".phx-click-loading &"])),
    plugin(({addVariant}) => addVariant("phx-submit-loading", [".phx-submit-loading&", ".phx-submit-loading &"])),
    plugin(({addVariant}) => addVariant("phx-change-loading", [".phx-change-loading&", ".phx-change-loading &"])),
    plugin(({addVariant}) => addVariant("phx-page-loading", [".phx-page-loading&", ".phx-page-loading &"]))
  ]
}
The syntax used to define the variant to allow it to be used on any element with the phx-page-loading class, or any element that is a descendant of one with the phx-page-loading class.
Let’s use phx-page-loading:opacity-0 to fade out while the page is loading
<main
  class="px-4 py-20 sm:px-6 lg:px-8 transition-all duration-500 opacity-0 phx-page-loading:opacity-0"
  phx-mounted={JS.remove_class("opacity-0")}
>
Now the page will fade out while loading, and fade back in once the new content is ready:
Adding and Removing Table Rows
Let’s have some fun with the table included in the generated Index LiveView.
The table component provides an :action slot used for the Edit and Delete links. In the phx-click binding for the Delete action, we JS.push a "delete" event to the LiveView, and apply some transition classes in a helper function fade_away_left
<:action :let={listing}>
  <.link
    phx-click={
      JS.push("delete", value: %{id: listing.id})
      |> fade_away_left("#listing-#{listing.id}")
    }
    data-confirm="Are you sure?"
  >
    Delete
  </.link>
</:action>
Our fade_away_left helper will use the JS.transition function and some TailwindCSS transform classes to make it feel like the deleted item is sliding out of the table.
def fade_away_left(js \\ %JS{}, selector) do
  JS.transition(
    js,
    {"transition-all transform ease-in duration-300", "motion-safe:-translate-x-96 opacity-0", "hidden"},
    to: selector,
    time: 300
  )
end
We can make new table rows slide in from the right, and smoothly scroll into view with some more transition classes and a Phoenix Hook:
<tr
  :for={row <- @rows}
  id={"#{@id}-#{Phoenix.Param.to_param(row)}"}
  class={[
    "group hover:bg-zinc-50",
    if(@new_row == Phoenix.Param.to_param(row),
      do: "transition-all transform duration-500 motion-safe:translate-x-96"
    )
  ]}
  phx-mounted={
    if(@new_row == Phoenix.Param.to_param(row),
      do: JS.remove_class("motion-safe:translate-x-96"))
  }
  phx-hook={if(@new_row == Phoenix.Param.to_param(row), do: "ScrollIntoView")}
>
A new assign @new_row is added to conditionally add the transition classes to the <tr> element for the newly added row. Once mounted, the motion-safe:translate-x-96 class is removed sliding the new row in from the right.
A hook is used to scroll the new row into view after a short delay when the table becomes large:
// app.js

let Hooks = {
  ScrollIntoView: {
    mounted() {
      setTimeout(() => this.el.scrollIntoView({behavior: "smooth"}), 500)
    }
  }
}
let csrfToken = document.querySelector("meta[name='csrf-token']").getAttribute("content")
let liveSocket = new LiveSocket("/live", Socket, { params: { _csrf_token: csrfToken }, hooks: Hooks })
Accessibility and prefers-reduced-motion
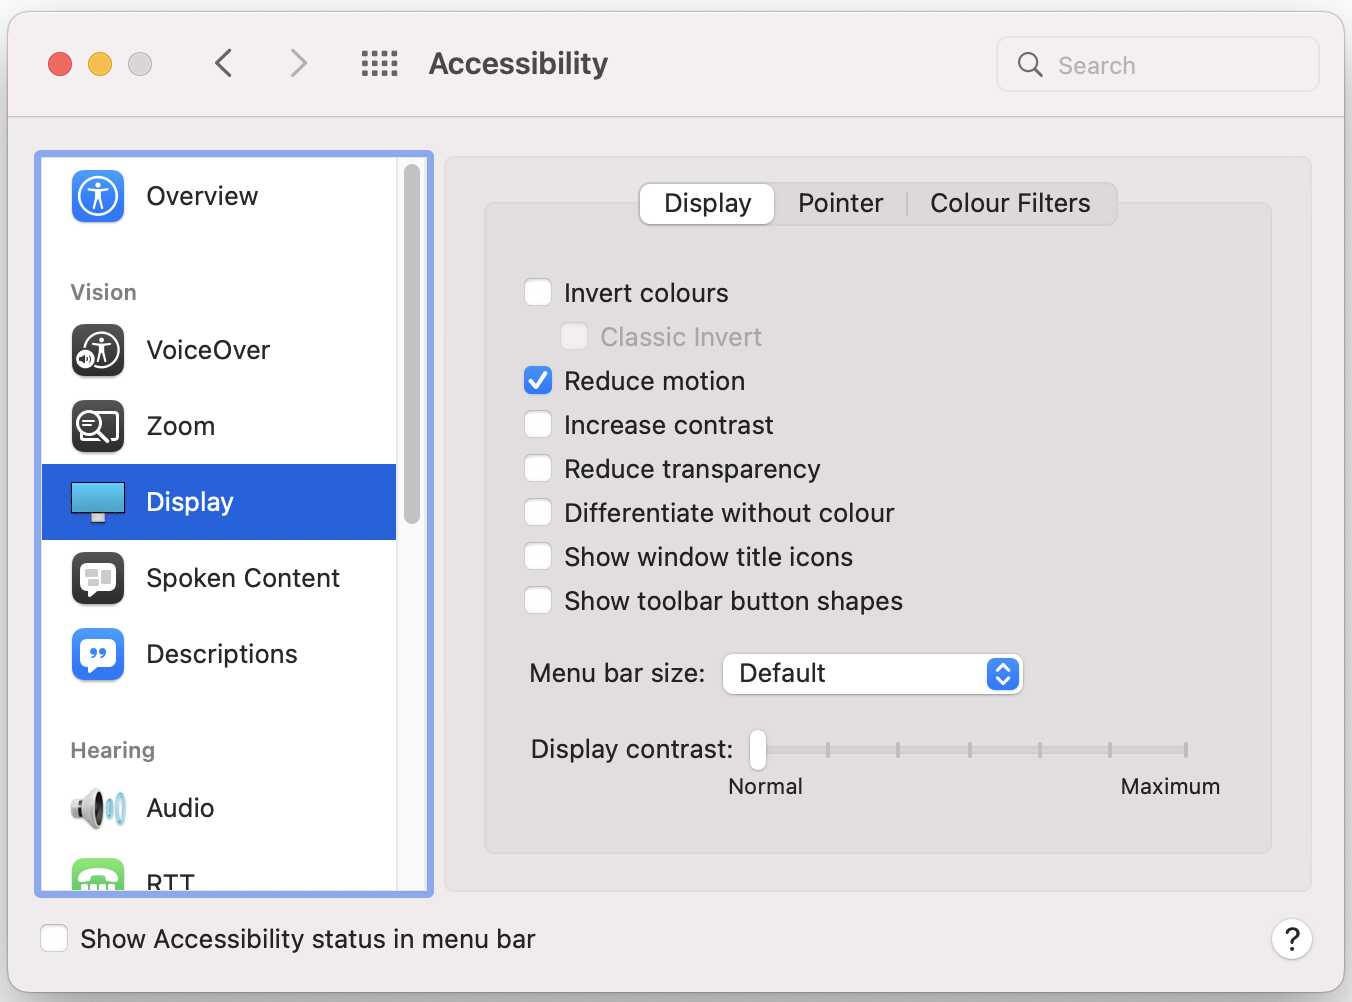
It’s important to respect the users preference for reduced motion by prefixing the any transform classes with the motion-safe: modifier.
Testing the app with reduced motion enabled in the system preferences confirms that we no longer have elements sliding across the page:
See the TailwindCSS docs, MDN and webkit blog for more details.
Wrapping Up
I hope you find the techniques shown in this post useful to smooth out the navigation in your LiveView projects and liven things even further with some transitions.


